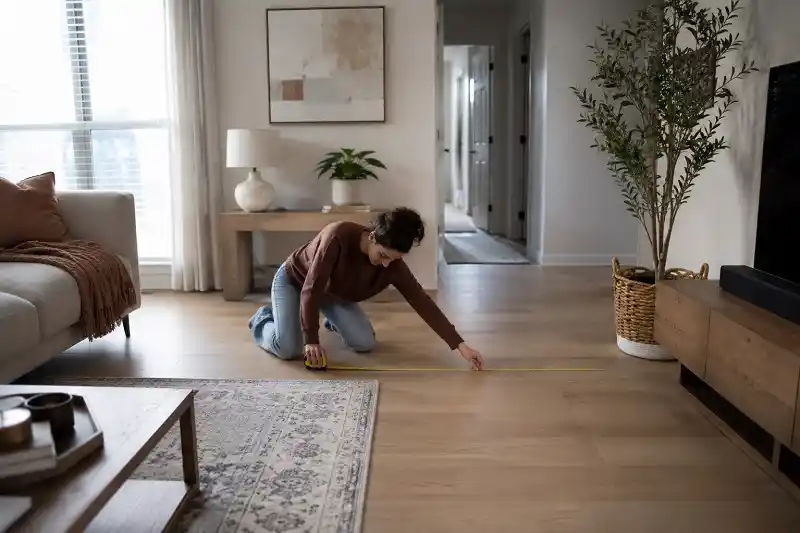
To measure a room for furniture, use a metal tape measure to record the room length, width, and ceiling height. Then measure doors, windows, and fixed features. Add the furniture size plus clearance space around it. Last, check the full delivery path so the piece can reach the room.
Buying furniture without measuring is a gamble. A sofa can look perfect online, then block a walkway or get stuck in the doorway at home. Learning how to measure a room for furniture saves you from costly returns and crowded layouts. This guide walks you through every step in plain words, with the exact numbers the pros use.
Why Measuring a Room First Matters
Good measurements are the base of good design. They tell you what size piece will fit, how it will sit in the room, and how people will move around it. Skip this step and you risk a tight, awkward space.
Three problems happen when you guess instead of measure. The piece may be too big and swallow the room. It may be too small and look lost. Or it may not pass through the door at all. A few minutes with a tape measure stops all three.
Tools You Need to Measure a Room
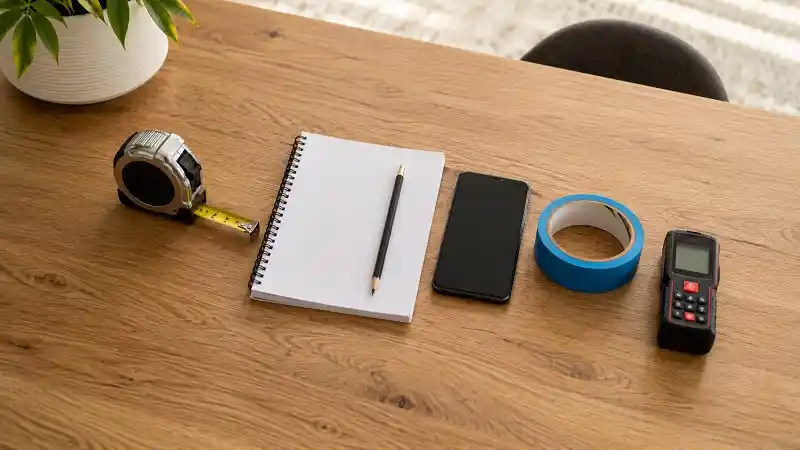
A short list of basic tools makes the job fast and accurate. Most are already in your home.
| Tool | Why you need it |
|---|---|
| Metal tape measure (25 ft or 8 m) | Gives firm, exact numbers; cloth tapes sag |
| Notepad and pencil | For your sketch and figures; pencil lets you fix errors |
| Smartphone | For photos of outlets, vents, and odd corners |
| Painter’s tape | To mark furniture spots on the floor |
| A helper | Makes long walls and high points much easier |
| Laser measure (optional) | Speeds up tall walls and long rooms |
A pencil beats a pen here. You will adjust numbers as you go, and clean edits keep your sketch easy to read.
Step 1: Sketch the Room First
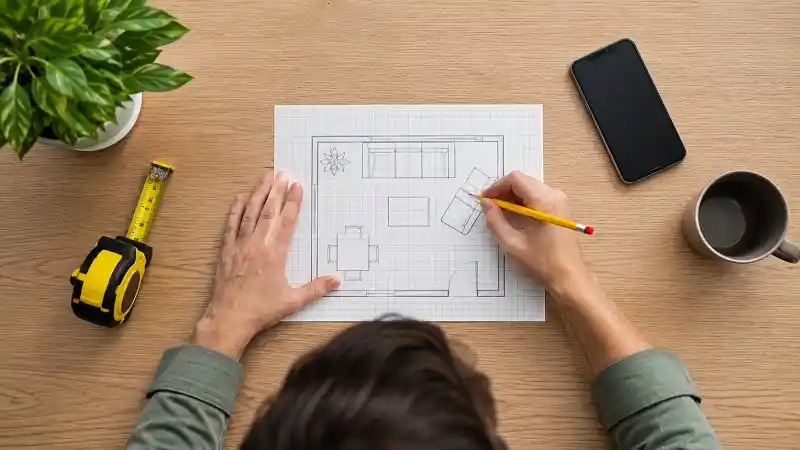
Start with a rough drawing before you measure anything. Draw the room shape on your notepad as if you are looking down from above. This simple floor plan holds all your numbers in one place.
Mark every fixed feature on the sketch. Note doors, windows, closets, radiators, vents, light switches, and power outlets. These spots affect where furniture can sit, so they belong on the plan from the start.
Step 2: Measure Room Length, Width, and Height
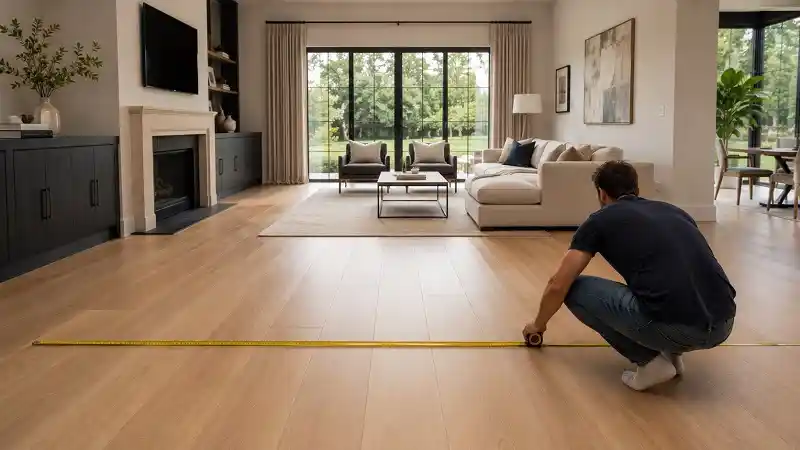
Now pull out the tape measure. Record the room length wall to wall, then the width the same way. Write both numbers on your sketch right away so you do not forget them.
Measure each wall at three points: near the floor, at the middle, and near the ceiling. Walls are not always straight, mostly in older homes. Always use the smallest number, since that is the true space you can fill.
Then measure the ceiling height from floor to ceiling. This vertical space decides what tall pieces and lighting will suit the room. A tall bookcase can overwhelm a low ceiling, so this number matters.
Step 3: Work Out the Square Footage
Square footage tells you the overall scale of the room. The math is simple and helps you judge furniture size.
To find it, multiply the room length by the width. A room 12 feet long and 10 feet wide gives 120 square feet. For metric, multiply meters by meters to get square meters.
Subtract the space taken by large fixed features like built-in shelves or a fireplace hearth. What is left is the real area you have to fill with furniture.
Step 4: Measure Doors, Windows, and Fixed Features
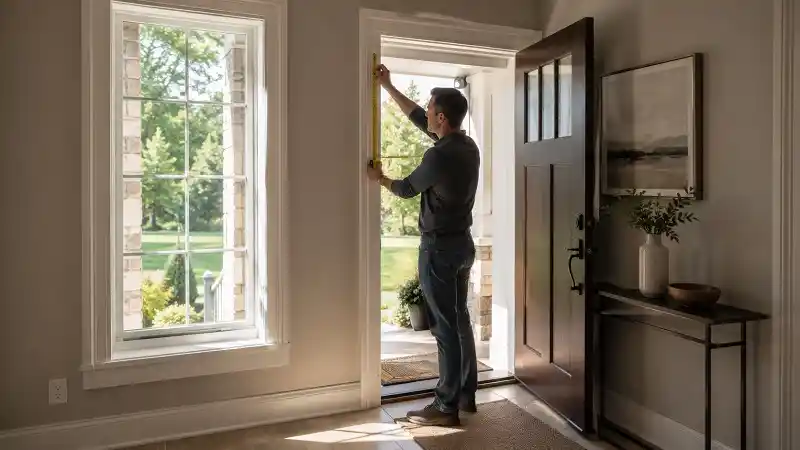
Fixed features break up your walls and limit furniture spots. Measure each one and add it to your sketch.
For doors, record the width and height of the opening. Note how far the door swings into the room, since that arc must stay clear. For windows, measure the width, the height, and the gap from the floor to the sill. That sill number tells you if a sofa back or console will fit beneath it.
Do not forget radiators, vents, and built-in units. Air vents and heat sources need open space around them, so mark these architectural features clearly on your plan.
Step 5: Measure the Furniture Itself
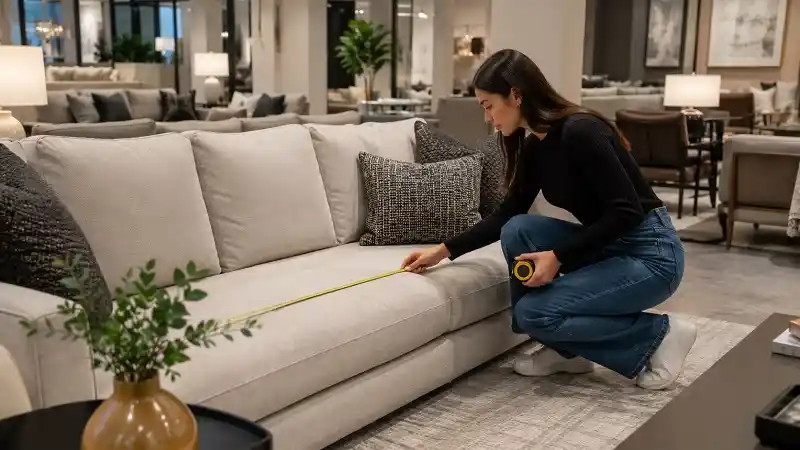
Room numbers are only half the job. You also need the size of each piece you plan to buy or keep. Furniture sizes are usually listed as width, height, and depth, in that order.
Measure at the widest and tallest points. Include sofa arms, angled legs, drawer fronts, and any trim that sticks out. Record the full furniture dimensions so nothing surprises you on delivery day.
If you already own the piece, measure it the same way. Match these numbers against your room sketch to see how it will sit.
Step 6: Plan for Functional Space
Many people measure the furniture frame and stop there. The piece also needs room to work. A drawer must open, a recliner must lean back, and a dining chair must slide out.
This extra room is called functional space. A dresser needs the depth of an open drawer plus standing room. A sofa bed needs floor space for the pull-out section. Mark this functional space on your plan so the piece works in daily use, not just when closed.
Step 7: Add Clearance and Walkway Space
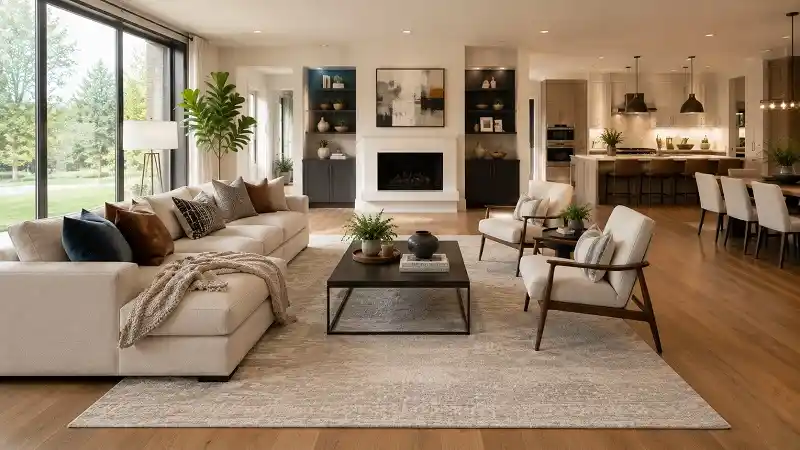
Furniture should never fill every inch. People need room to walk, sit, and move without bumping into things. These clearance numbers are design standards used by pros.
| Space | Recommended clearance |
|---|---|
| Main walkway | 30 to 36 inches (76 to 91 cm) |
| Minor walkway | 18 to 24 inches (46 to 61 cm) |
| Sofa to coffee table | 14 to 18 inches (36 to 46 cm) |
| Behind a dining chair | 24 to 36 inches (61 to 91 cm) |
| Around a bed | 24 to 30 inches (61 to 76 cm) |
| In front of a dresser | Drawer depth plus 12 inches |
| Between sofa and TV | 7 to 9 feet for a 55 inch screen |
Use these as a starting point. Leave a bit more room in busy spaces where many people gather. This breathing room is what makes a layout feel easy and natural.
Step 8: Measure the Delivery Path
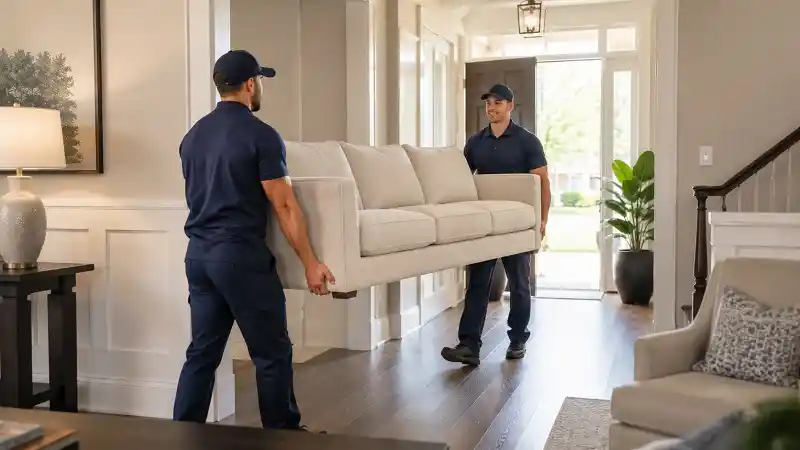
A piece that fits the room is useless if it cannot reach the room. This is the step most people forget, and it causes the worst surprises.
Walk the full route from the street to the final spot. Measure each tight point along the way. Compare every number against the furniture size, including its packed size.
- Doorways: Measure the width and height of every door the piece must pass, including the front door.
- Hallways and turns: Measure hallway width and check any sharp 90 degree corners.
- Stairs: Measure the width, the headroom, and any landing space for turning.
- Elevators: Measure the door opening, inside depth, and inside height.
For large custom sofas, also measure the diagonal depth. This is the distance from the top back corner to the bottom front corner. A sofa often passes through a door at an angle, and this number tells you if it will turn.
How to Measure for Different Room Shapes
Not every room is a neat box. Odd shapes need a small change in method, which competitors rarely explain.
For an L-shaped or open plan room, split it into smaller rectangles. Measure each rectangle on its own, then add the areas together. For zones in an open plan space, treat the living, dining, and walkway areas as separate sections so each piece fits its own zone.
For alcoves, bay windows, or angled walls, measure them as their own small shapes. Note them on your sketch so you can plan furniture that fits these tricky corners without crowding.
How to Measure for a Rug or Carpet
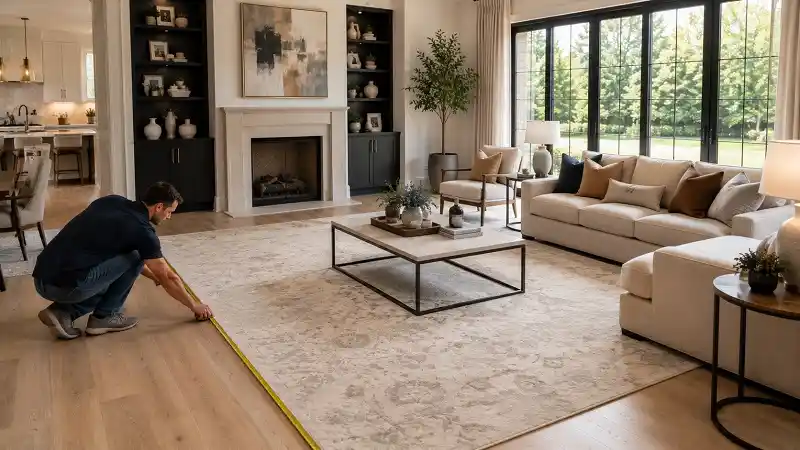
Soft floor coverings need their own sizing logic. A rug that is too small makes a room feel choppy and unbalanced.
In a living room, the rug should sit under the front legs of all the main seating at least. A larger rug that fits every leg looks even better. For a dining room, the rug should extend about 24 inches past the table edge on each side, so chairs stay on it when pulled out.
For wall to wall carpet, use your room square footage and add about 10 percent for waste and seams. This rug sizing step ties your floor covering to the furniture above it.
Common Measuring Mistakes to Avoid
Most fit problems trace back to a few simple slips. This table helps you check your work before you buy.
| Mistake | What goes wrong | Easy fix |
|---|---|---|
| Measuring the room only | Piece fits the wall but not the door | Measure the delivery path too |
| Skipping clearance | Room feels tight and crowded | Use the clearance numbers above |
| Forgetting drawer or door swing | Furniture opens halfway | Measure functional space |
| Ignoring ceiling height | Tall piece dwarfs the room | Record floor to ceiling height |
| Missing baseboards and trim | Lose half an inch to an inch of wall | Measure at floor level too |
| Measuring once | A small error becomes a big issue | Measure twice, use the smaller number |
Your Pre-Shopping Measurement Checklist
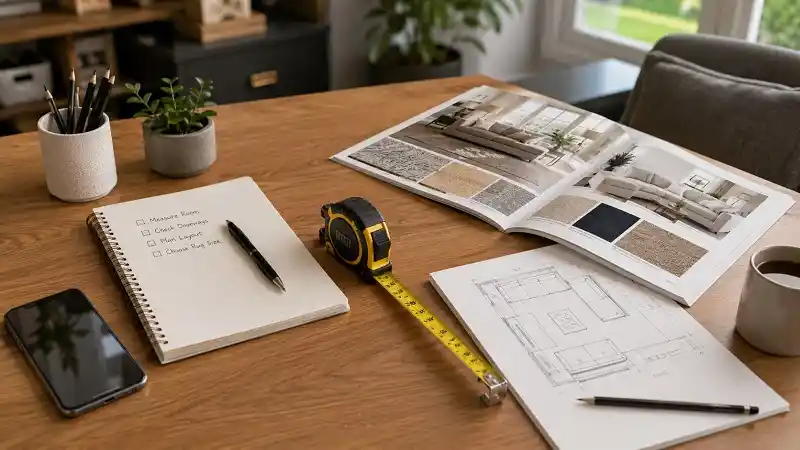
Save these numbers on your phone before you shop. Bring your sketch and photos along too.
- Room length, width, and ceiling height
- Square footage of the room
- Door, window, and fixture sizes
- Furniture width, height, and depth
- Packed size of the furniture
- Clearance and walkway space
- Full delivery path measurements
- Painter’s tape floor test done
The painter’s tape test is worth the effort. Mark the furniture footprint on your floor with tape. Walk around it for a day to feel how the space flows before you commit.
Final Thoughts
Measuring a room for furniture is the simplest way to shop with confidence. The process comes down to a clear order: sketch the room, measure the space, add the furniture size, leave clearance, then check the delivery path. Follow those steps and the right piece will fit your room and your routine from day one.
Take your time and write every number down. A few careful minutes with a tape measure save you from returns, blocked walkways, and delivery day stress. With your sketch and figures in hand, you can choose furniture that fits the way you live, not just the way it looks in a photo.
Frequently Asked Questions
How do you measure a room for furniture step by step?
Sketch the room first. Measure the length, width, and ceiling height. Add door, window, and fixture sizes. Then measure the furniture, add clearance, and check the delivery path.
How do you measure the square footage of a room?
Measure the room length and width, then multiply them together. A 12 foot by 10 foot room equals 120 square feet. For odd shapes, split the room into rectangles and add the areas.
What is the standard clearance for walkways?
Main walkways need 30 to 36 inches of clear space. Smaller, less used paths can work with 18 to 24 inches. This keeps traffic flowing without bumps.
Why should I measure the delivery path?
A piece can fit the room but get stuck in a door, hallway, or stairwell. Measuring the path from the street to the room helps you avoid a failed delivery.
What does diagonal depth mean for a sofa?
Diagonal depth is the distance from the top back corner to the bottom front corner. A sofa often turns through a doorway at an angle, so this number shows if it will pass.
Should I round measurements up or down?
Round room and doorway numbers down for safety. Round furniture sizes up if the listing shows decimals. This small buffer covers trim, fabric, and minor errors.
How much clearance does a dining table need?
Leave 24 to 36 inches behind each chair. This lets people pull the chair out and stand up without hitting a wall or other furniture.